| Soarer Steering Wheel Refurbishment |
|
By Emanuel Spinola Most
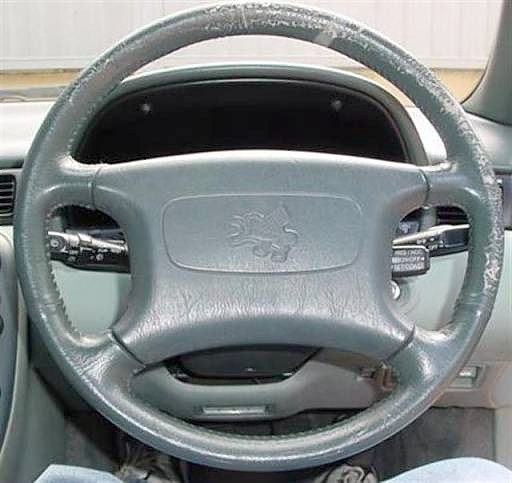
10 year old Soarer steering wheels are showing their age with
discoloration, cracks, splits and loose feel of the factory leather
finish. To
improve the look and feel, options include buying a new steering wheel
from Toyota Japan, buying a used replacement from a wrecker or
re-trimming your wheel with new leather. My wheel
below was a very disappointing feature of my otherwise pristine interior
so I planned to have the wheel leather re-trimmed to rejuvenate the look
and feel. Having had previous satisfying work performed before, I left the bare steering wheel with J&A Upholstery in Five Dock NSW 02 9745 4639 after choosing a replacement shade and grain of leather for a week. I chose a matt dark grey shade of good quality, long wearing leather instead of the dark green sheen factory finish – Colour matching of the rubber horn pad and plastic covers was required in my case. A solid day’s work at cutting and trimming by an experienced upholster was required to complete the transformation. A cash price of $330 was settled for the excellent work. |
| Before:
|
|
After:
|
|
Removal
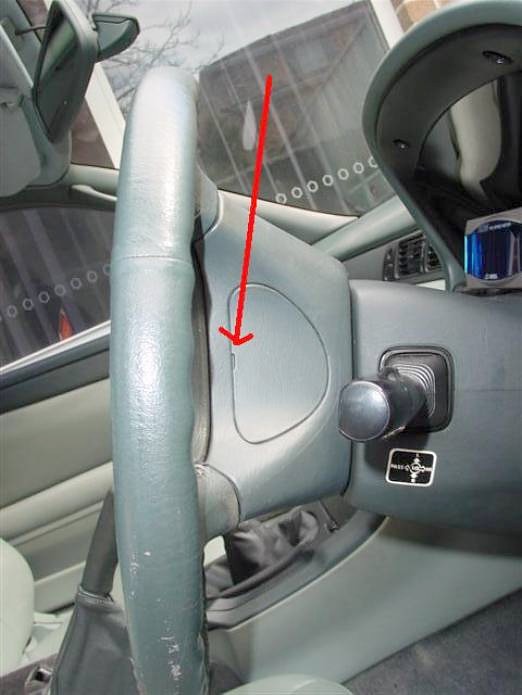
and Fitting Procedure Prise the side access cover away by inserting a small flat blade screwdriver in the notch indicated below. 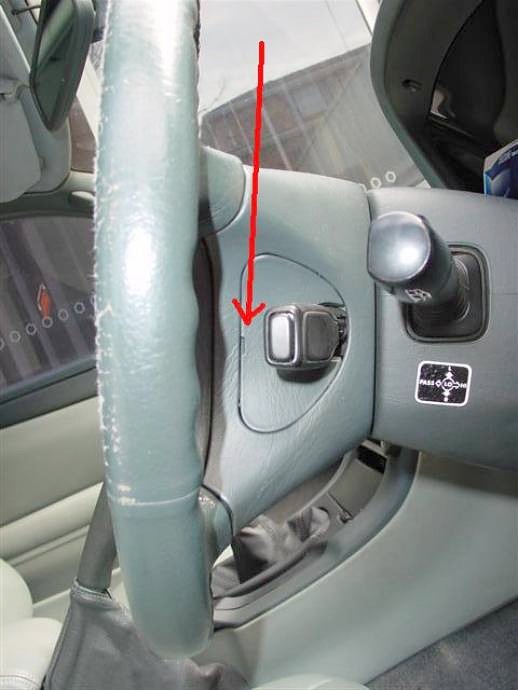
|
|
Loosen the Phillips screw below using a medium sized Phillips screwdriver - complete removal is not necessary, only about 5mm until the spring clears the clip. 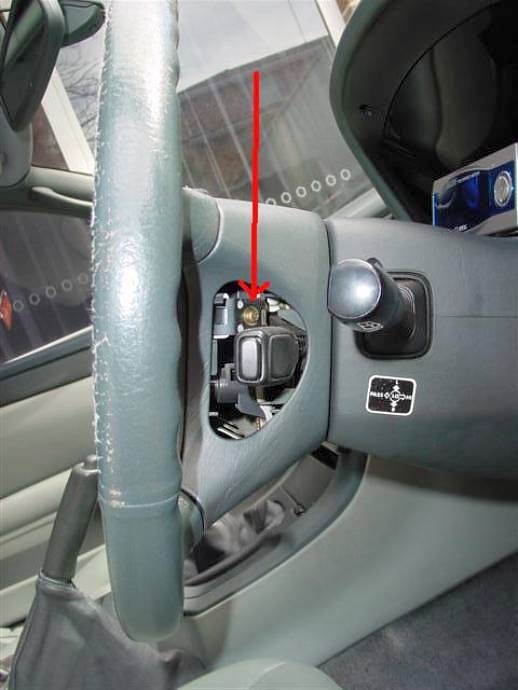
|
|
Rotate the wheel 180 degrees and remove the side access cover on the other side via a flat blade screwdriver and the notch below.
|
|
Loosen the Phillips screw the same as the other side. 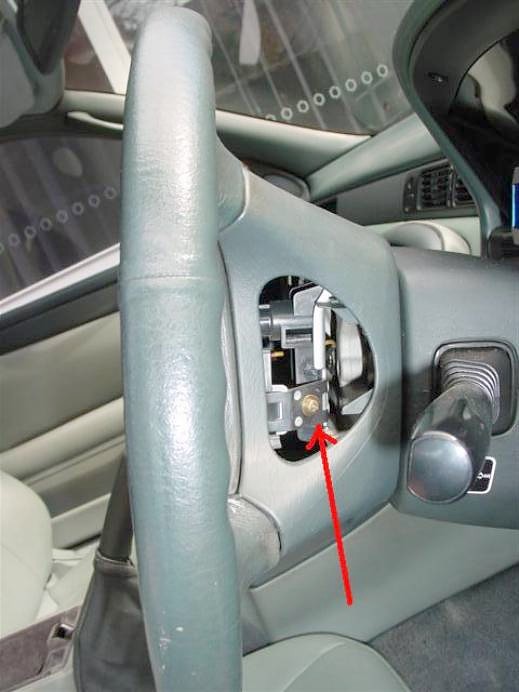
|
|
Prise the front rubber pad away from the steering wheel and remove the horn switch wiring connector as indicated below. 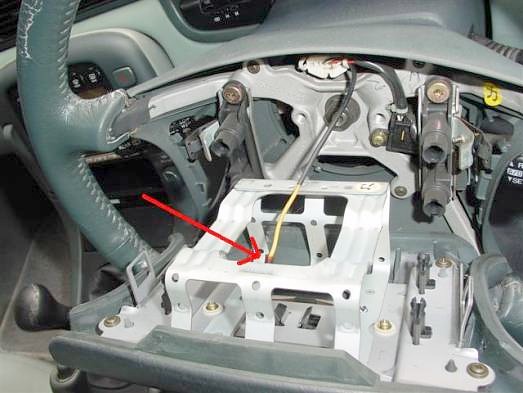
|
|
Dislodge the Cruise Control electrical connector indicated below. 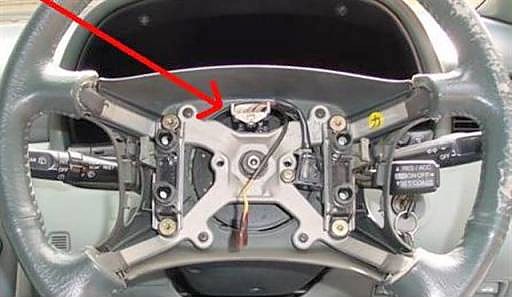
|
|
Using a 19mm socket wrench, loosen the steering shaft retaining nut as indicated below. Loosen 1 or 2 turns only if you don’t have a steering wheel puller and firmly pull the steering wheel towards you whilst seated in a normal driving position – this may take considerable force to dislodge. Once loose, remove the nut. With a steering wheel puller, remove the nut completely and attach and operate the puller as per manufacturers instructions. 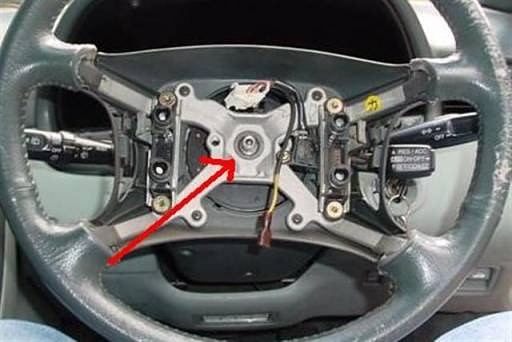
|
|
With the wheel in normal straight driving position, mark the centre shaft vertical position with a pencil or marker to assist re-assembly. Remove the wheel. 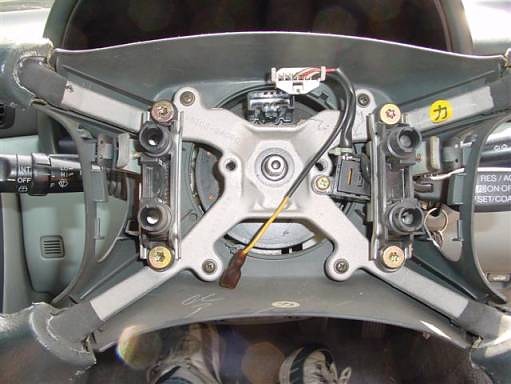
|
|
To remove the rear steering wheel rear cover, remove the 4 Phillips screws indicated below. 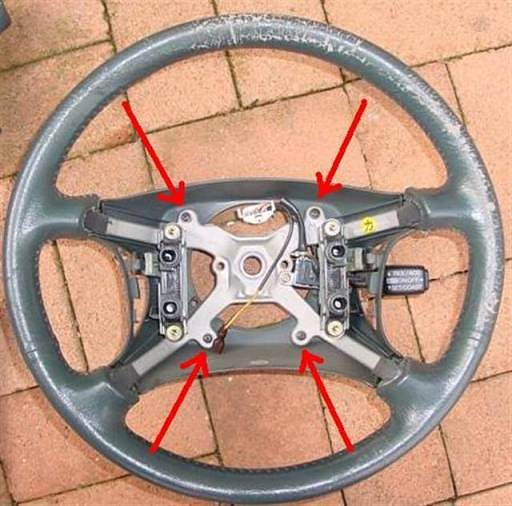
|
|
To remove the rubber pads retainer and cruise control switchgear, remove the Phillips screw and 4 Torx screws as indicated below. 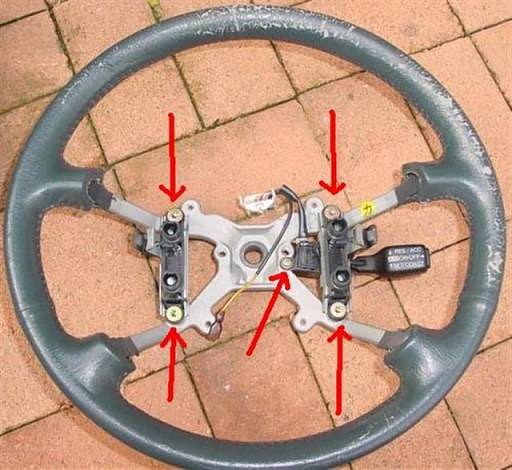
|
|
Bare steering wheel and removed parts. 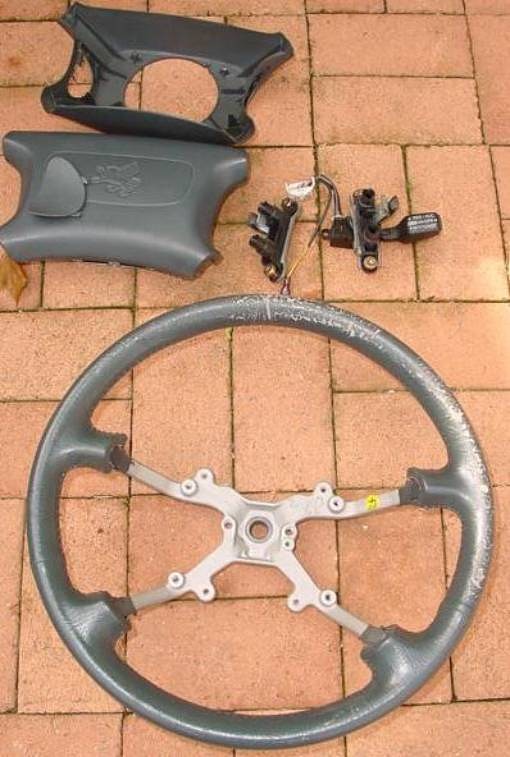
|
|
Bare steering wheel as you would provide to a re-trimmer / upholsterer. 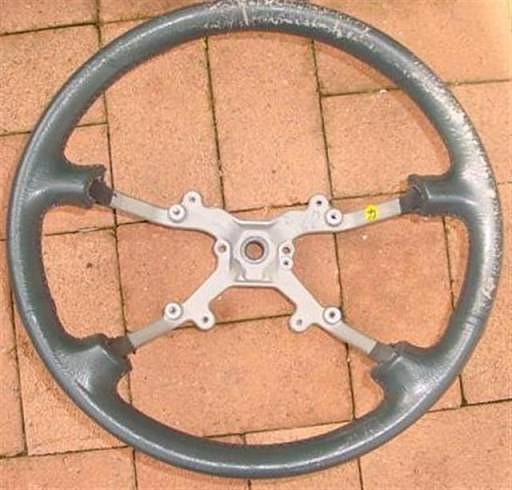
|
|
The worn leather sections removed from my steering wheel. 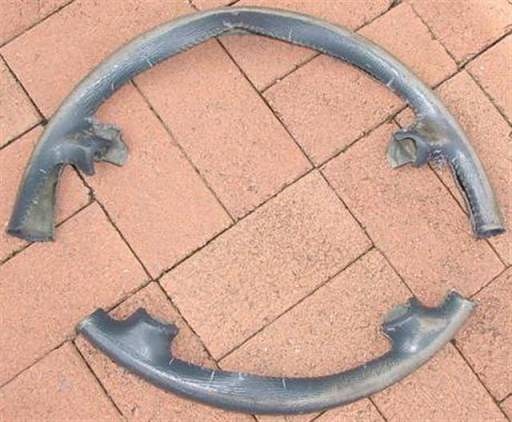
|
|
Upon return of the re-trimmed bare wheel, re-assemble the rear cover, rubber pad holder and cruise control switchgear. Align the centre shaft and steering wheel using the marks you previously made prior to removal and replace / tighten the centre shaft nut. Re-insert the cruise control electrical connector. 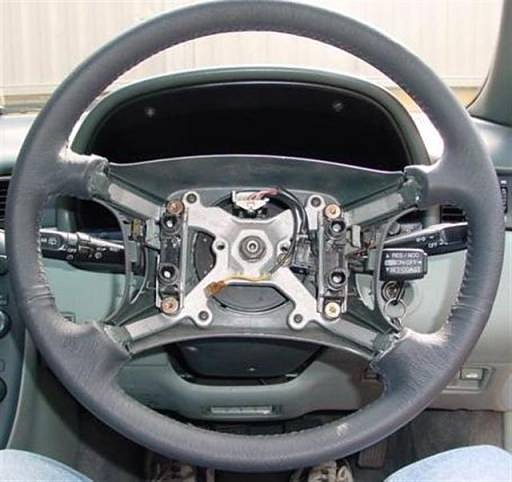
|
|
Re-insert the horn switch electrical connector and re-assemble the rubber horn pad. Tighten the two Phillips screws that retain the horn pad in place and re-affix the side access covers to complete the process. 
|
| Many Thanks to Emanuel Spinola for the work and effort taken to prepare this document. |